
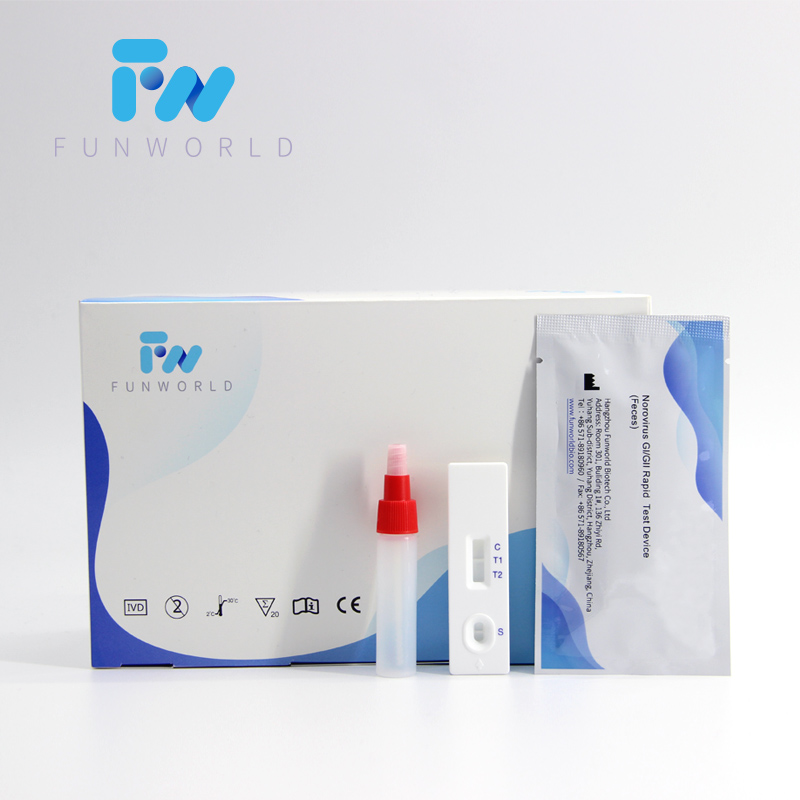
Norovirus (Gⅰ / Gⅱ) Dispositif de test rapide (matières fécales)
Principe
The Norovirus (GⅠ/GⅡ) Rapid Test Device (Feces) has been designed to detect norovirus GⅠ and GⅡ through visual interpretation of color development in the internal strip. The membrane was immobilized with anti-norovirus GⅠ antibodies and anti-norovirus GⅡ antibodies on the test region. During the test, the specimen is allowed to react with colored anti-norovirus GⅠ antibodies colloidal gold conjugates and anti norovirus GⅡ antibodies colloidal gold conjugates, which were precoated on the sample pad of the test. The mixture then moves on the membrane by a capillary action, and interact with reagents on the membrane. If there were enough norovirus GⅠ in specimens, a colored band will form at the T1 region of the membrane.
De façon similaire, s'il y avait suffisamment de norovirus Gⅱ dans les spécimens, une bande colorée se formera dans la région T2 de la membrane. La présence de bandes colorées indique un résultat positif, tandis que son absence indique un résultat négatif. L'apparition d'une bande colorée dans la région de contrôle sert de contrôle procédural. Cela indique qu'un bon volume d'échantillons a été ajouté et que la mèche de la membrane s'est produite.
Directions à utiliser
Apportez des tests, des échantillons, du tampon et / ou des commandes à température ambiante (15 - 30 ° C) avant utilisation.
1. Collection des spécimens et traitement avant:
1) Utilisez le conteneur de collecte d'échantillons pour la collecte des échantillons. Les meilleurs résultats seront obtenus si le test est effectué dans les 6 heures suivant la collecte.
2) For solid specimens: Unscrew and remove the dilution tube applicator. Be careful not to spill or spatter solution from the tube. Collect specimens by inserting the applicator stick into at least 3 different sites of the feces to collect approximately 125 mg of feces .
For liquid specimens: Hold the pipette vertically, aspirate fecal specimens, and then transfer 125 µL into the specimen collection tube containing the extraction buffer.
3) Place the applicator back into the tube and screw the cap tightly. Be careful not to break the tip of the dilution tube.
4) Secouez vigoureusement le tube de collecte d'échantillons pour mélanger l'échantillon et le tampon d'extraction.
Specimens prepared in the specimen collection tube may be stored for 6 months at -20°C if not tested within 1 hour after preparation.
2. Test
1) Remove the test from its sealed pouch, and place it on a clean, level surface. Label the test with patient or control identification. To obtain a best result, the assay should be performed within one hour.
2) Using a piece of tissue paper, break the tip of the dilution tube. Hold the tube vertically and dispense 4 drops of solution into the specimen well (S) of the test device.
Avoid trapping air bubbles in the specimen well (S), and do not drop any solution in observation window.
Alors que le test commence à fonctionner, vous verrez la couleur se déplacer à travers la membrane.
3. Attendez que le ou les groupes colorés apparaissent. Le résultat doit être lu à 10 minutes.