
Norovirus (Gⅰ/Gⅱ) Schnelltestvorrichtung (Kot)
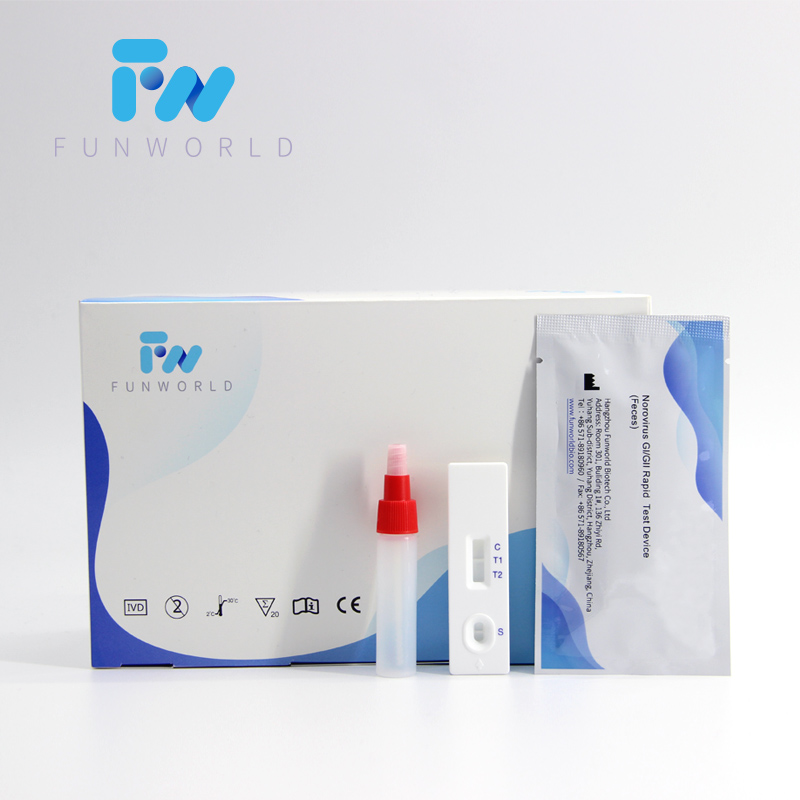
Prinzip
The Norovirus (GⅠ/GⅡ) Rapid Test Device (Feces) has been designed to detect norovirus GⅠ and GⅡ through visual interpretation of color development in the internal strip. The membrane was immobilized with anti-norovirus GⅠ antibodies and anti-norovirus GⅡ antibodies on the test region. During the test, the specimen is allowed to react with colored anti-norovirus GⅠ antibodies colloidal gold conjugates and anti norovirus GⅡ antibodies colloidal gold conjugates, which were precoated on the sample pad of the test. The mixture then moves on the membrane by a capillary action, and interact with reagents on the membrane. If there were enough norovirus GⅠ in specimens, a colored band will form at the T1 region of the membrane.
Ähnlich, wenn es in der T2 -Region der Membran genügend Norovirus Gⅱ in Exemplaren gab, bildet sich eine farbige Bande. Das Vorhandensein von farbigen Banden zeigt ein positives Ergebnis an, während seine Abwesenheit ein negatives Ergebnis anzeigt. Das Aussehen einer farbigen Bande im Kontrollbereich dient als Verfahrenskontrolle. Dies weist darauf hin, dass ein ordnungsgemäßes Exemplarsvolumen hinzugefügt wurde und Membran -Dochting aufgetreten ist.
Gebrauchsanweisung
Testen, Proben, Puffer und/oder Steuerungen vor der Verwendung auf Raumtemperatur (15 - 30 ° C) bringen.
1. Probensammlung und vor - Behandlung:
1) Verwenden Sie den Probenersammlungsbehälter für die Probensammlung. Die besten Ergebnisse werden erzielt, wenn der Assay innerhalb von 6 Stunden nach der Sammlung durchgeführt wird.
2) For solid specimens: Unscrew and remove the dilution tube applicator. Be careful not to spill or spatter solution from the tube. Collect specimens by inserting the applicator stick into at least 3 different sites of the feces to collect approximately 125 mg of feces .
For liquid specimens: Hold the pipette vertically, aspirate fecal specimens, and then transfer 125 µL into the specimen collection tube containing the extraction buffer.
3) Place the applicator back into the tube and screw the cap tightly. Be careful not to break the tip of the dilution tube.
4) Schütteln Sie das Probensammlungsröhrchen energisch, um die Probe und den Extraktionspuffer zu mischen.
Specimens prepared in the specimen collection tube may be stored for 6 months at -20°C if not tested within 1 hour after preparation.
2. Tests
1) Remove the test from its sealed pouch, and place it on a clean, level surface. Label the test with patient or control identification. To obtain a best result, the assay should be performed within one hour.
2) Using a piece of tissue paper, break the tip of the dilution tube. Hold the tube vertically and dispense 4 drops of solution into the specimen well (S) of the test device.
Avoid trapping air bubbles in the specimen well (S), and do not drop any solution in observation window.
Wenn der Test zu funktionieren beginnt, wird sich die Farbe über die Membran bewegen.
3. Warten Sie, bis die farbigen Bande (en) erscheinen. Das Ergebnis sollte nach 10 Minuten gelesen werden.