
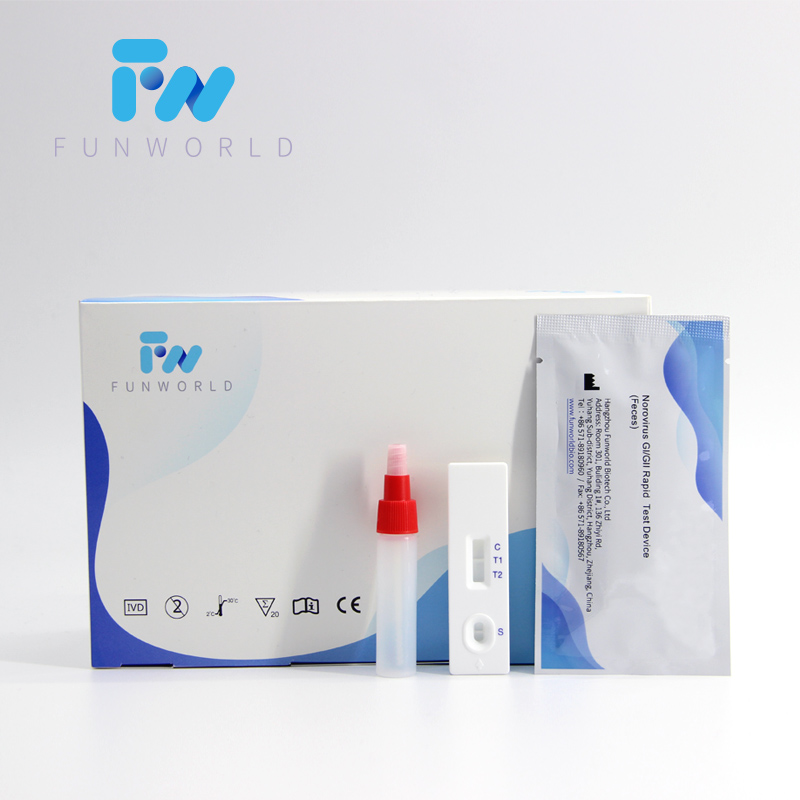
Dispositivo de prueba rápido de Norovirus (Gⅰ/Gⅱ) (heces)
Principio
The Norovirus (GⅠ/GⅡ) Rapid Test Device (Feces) has been designed to detect norovirus GⅠ and GⅡ through visual interpretation of color development in the internal strip. The membrane was immobilized with anti-norovirus GⅠ antibodies and anti-norovirus GⅡ antibodies on the test region. During the test, the specimen is allowed to react with colored anti-norovirus GⅠ antibodies colloidal gold conjugates and anti norovirus GⅡ antibodies colloidal gold conjugates, which were precoated on the sample pad of the test. The mixture then moves on the membrane by a capillary action, and interact with reagents on the membrane. If there were enough norovirus GⅠ in specimens, a colored band will form at the T1 region of the membrane.
De manera similar, si hubiera suficiente norovirus Gⅱ en especímenes, se formará una banda de color en la región T2 de la membrana. La presencia de bandas de colores indica un resultado positivo, mientras que su ausencia indica un resultado negativo. La apariencia de una banda de color en la región de control sirve como control de procedimiento. Esto indica que se ha agregado un volumen adecuado de la muestra y se ha producido una membrana de membrana.
Instrucciones para su uso
Traiga pruebas, muestras, tampón y/o controles a temperatura ambiente (15 - 30 ° C) antes de su uso.
1. Colección de muestras y pre - Tratamiento:
1) Use el contenedor de colección de muestras para la colección de muestras. Se obtendrán los mejores resultados si el ensayo se realiza dentro de las 6 horas posteriores a la recolección.
2) For solid specimens: Unscrew and remove the dilution tube applicator. Be careful not to spill or spatter solution from the tube. Collect specimens by inserting the applicator stick into at least 3 different sites of the feces to collect approximately 125 mg of feces .
For liquid specimens: Hold the pipette vertically, aspirate fecal specimens, and then transfer 125 µL into the specimen collection tube containing the extraction buffer.
3) Place the applicator back into the tube and screw the cap tightly. Be careful not to break the tip of the dilution tube.
4) Agite el tubo de recolección de muestras vigorosamente para mezclar la muestra y el tampón de extracción.
Specimens prepared in the specimen collection tube may be stored for 6 months at -20°C if not tested within 1 hour after preparation.
2. Prueba
1) Remove the test from its sealed pouch, and place it on a clean, level surface. Label the test with patient or control identification. To obtain a best result, the assay should be performed within one hour.
2) Using a piece of tissue paper, break the tip of the dilution tube. Hold the tube vertically and dispense 4 drops of solution into the specimen well (S) of the test device.
Avoid trapping air bubbles in the specimen well (S), and do not drop any solution in observation window.
A medida que la prueba comienza a funcionar, verá que el color se mueve a través de la membrana.
3. Espere a que aparezcan las bandas de colores. El resultado debe leerse a los 10 minutos.